How to cross stitch: a beginners' guide
Published on 30 June 2019 4 min readCalling all wannabe cross stitchers! Whether you’re a keen crafter or a newbie to needlecraft, cross stitching is a brilliantly rewarding and therapeutic craft to add to your repertoire. If you’re keen to learn how to cross stitch but don’t have a clue where to start – we’ve got your back!
What is cross stitch?
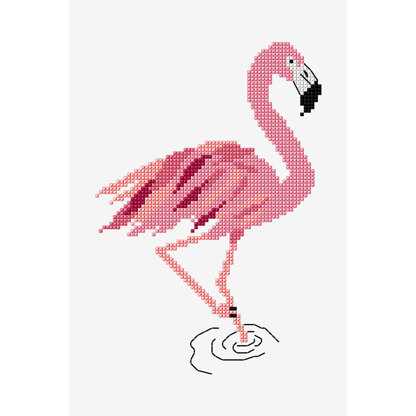
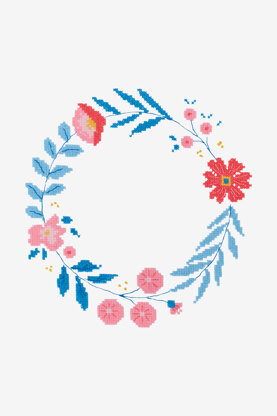
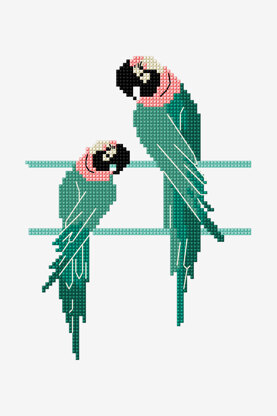
Cross stitch is simply making cross-shaped stitches in an open weave fabric. This form of counted thread embroidery is easy to pick up the basics so you can create beautiful designs in cross stitch – perfect for interiors, embellishments on garments and more. You can use cross stitch kits to get started, or buy the cross stitch tools you need and learn how to read charts (the patterns you’ll use to create stunning designs!).
How to cross stitch step-by-step
There are a few ways to achieve a cross-shaped stitch, and the one you choose depends on the intricacy of the design. If you’re working in block colours or on rows, you might find it easier to use the row method of stitching. If you’re working on more detailed or intricate areas, the individual cross stitch method will be the best for you.
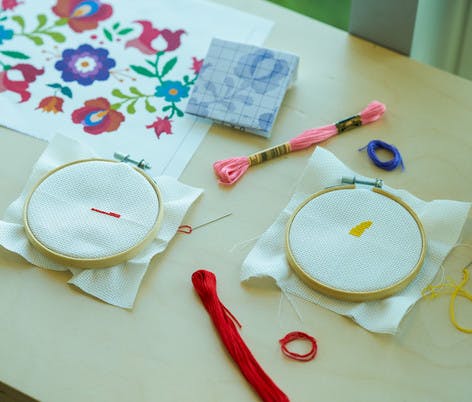
1. Select your cross stitch tools
Cross stitch fabric
Cross stitch is usually stitched on aida (also called Java canvas or evenweave), a fabric woven with an evenly-spaced grid of holes. These are the tiny holes you’ll use to cross stitch. Find out everything you need to know about aida with our handy guide.
Cross stitch needles
Blunt tapestry needles are best for cross stitch. Find a needle size that will comfortably pass back and forth through the holes in the fabric without stretching. Needle sizes start at 13 and go up to 26. A size 24 needle would work well for 14 count aida.
Threads
The majority of cross stitch designs are stitched with stranded embroidery thread. These threads are made up of six strands and can be separated according to the design you’re working on.
Embroidery hoop
Use an embroidery hoop to keep the fabric taut while you stitch. They are a great way to maintain good tension and count your stitches. Hoops come in a huge variety of sizes, and can even be used to mount work afterwards.
Tapestry scissors
A good pair of scissors are invaluable for any crafter. Keep them sharp and use them to cut the ends of threads when you’re finished stitching.
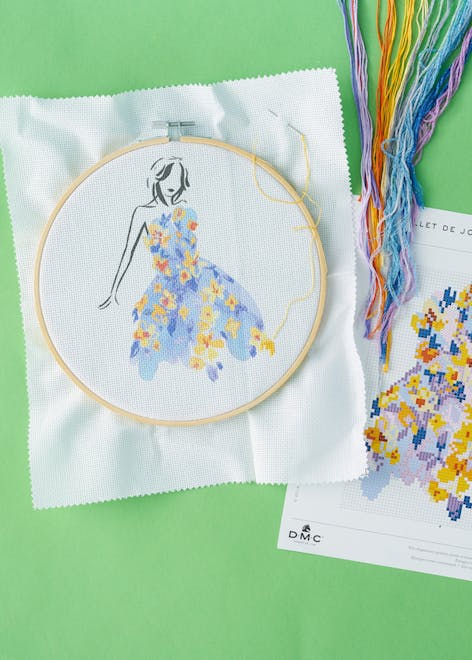
2. Learn how to read a cross stitch pattern
Cross stitch patterns will show a grid with each square of the grid representing a single stitch you will make in your aida. Every cross stitch pattern will have a key to explain the colours and symbols used on the cross stitch chart. Take some time to get to know your pattern - it will make stitching even easier!
But, where to start a cross stitch pattern? Find the centre of your aida and start stitching from the middle of the design. From there, work outwards to create a beautiful cross stitched piece!
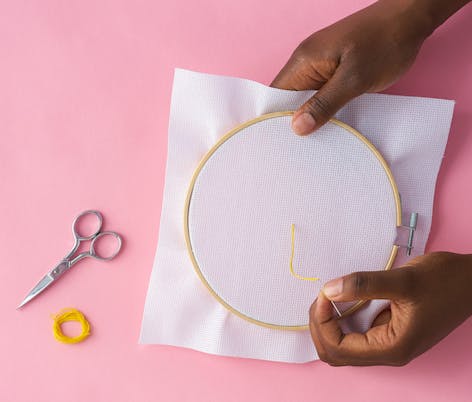
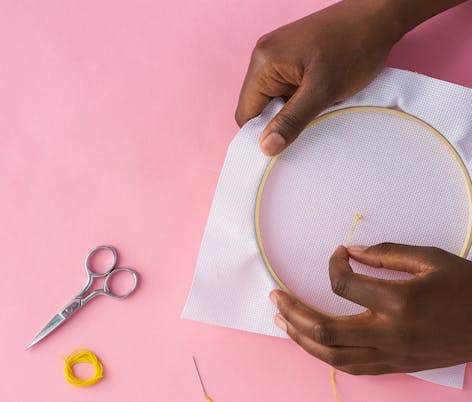
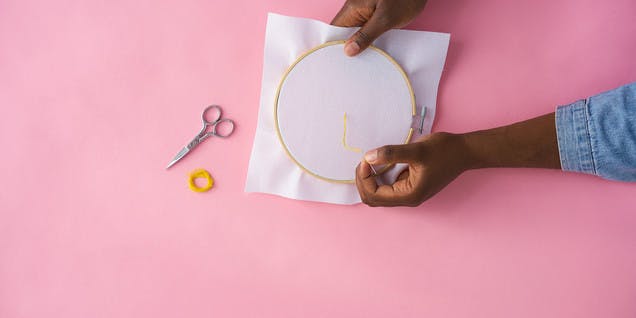
3. Prepare your fabric
When working with woven fabrics like aida and linen, a top tip is to stitch around the edges of the fabric to avoid fraying. A simple zig-zag stitch would work perfectly! Alternatively, a quicker solution is to use pinking shears to cut a zig-zag pattern around the edges of your fabric.
For extra security, place your aida into an embroidery hoop. Simply separate the two parts of the hoop, place the aida in between the hoops and pull add the edges to make sure it's secured tightly. Tighten the hoop's screw to secure it all together.
4. Prepare your thread
Cut your thread to the length that is easy to work with without becoming tangled. Split the strands of your embroidery thread to the appropriate strands for your project. To do this, cut a length of the thread, hold one end taut while you carefully pull as many strands as you need away. If you’re stitching a design on 14-count aida, you would usually use two strands. It’s easy to get in a tangle when you first start, but we promise practice will make perfect!
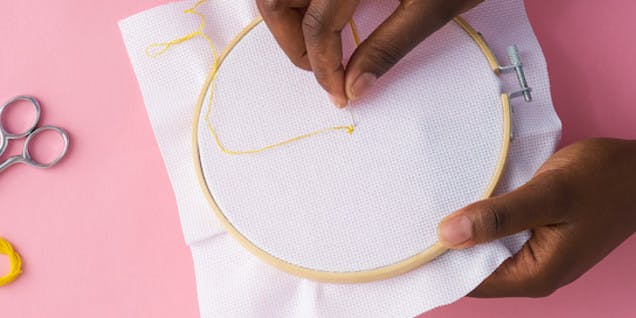
5. Find the centre of your fabric
Fold your fabric in half, then in half again. Pinch the middle of the fabric to make a crease, then add a small stitch as a marker. Work from the middle of the chart outwards, if it makes sense to.
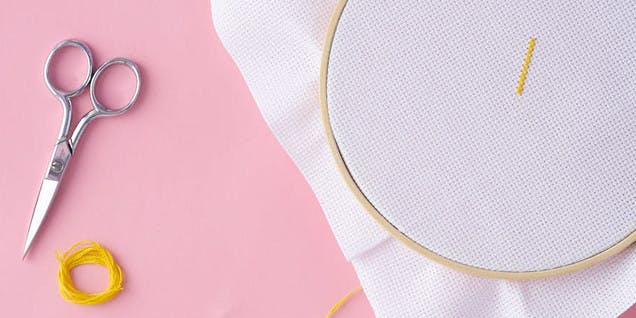
6. Start a cross stitch
It's time to get stitching! Start by threading a tapestry needle. Insert it into the back of the fabric to make your first stitch. Hold an inch tail of the thread at the back of your fabric. As you make your first stitches, be sure to catch the thread at the back within it to secure it in place.
How to make an individual cross stitch
1
Choose the spot where you wish to make your first stitch and identify the four holes you’ll use to make the stitch.
2
Bring your needle up from the bottom left hole and make a diagonal stitch, taking the needle back down through the top right hole.
3
Bring the needle back through the top left hole, and down through the bottom right hole, crossing the other diagonal stitch as you go.
Pro Tip
It’s easy to get your thread in a tangle as you stitch, causing nasty knots that can be hard to resolve. To avoid this, every so often, drop your needle and let it hang from the cross stitch so that the thread unravels itself.
Make a row of cross stitches
1
Choose the spot where you wish to make your first stitch and identify the four holes you’ll use to make the stitch.
2
Bring your needle up from the bottom left hole and make a diagonal stitch, taking the needle back down through the top right hole.
3
Bring the needle back through the bottom right hole (directly beneath the hole you’ve just gone through) and insert it into the top right hole of the next stitch.

4
Repeat the same stitch until you have as many as you need in the row.
5
Start to go back along the row you’ve just stitched, doing the same diagonal stitch in reverse, making cross stitches as you go. Yasssss! You’ve stitched your first row.
How to end a thread
1
When you need to use a new thread or if you’ve come to the end of your design, make the last stitch as you usually would, with the needle at the back of the fabric.
2
Run the needle through the back of the last few stitches.

3
Snip the end of the thread with embroidery scissors. If you’re starting with a new thread or color, simple thread the needle through the back of the same stitches you tied off and carry on stitching!